When planning a new kitchen or updating your existing layout, one question comes up more often than you might initially think: What goes on the wall behind my worktop, how high does it need to be, and should it match?
It’s easy to get lost in visual inspiration on social media platforms and mood boards, but before you choose colours, tiles or slabs, there’s a fundamental distinction that often gets overlooked: the difference between an upstand and a full splashback. Understanding the difference between these two elements, and where each belongs, is important in creating a kitchen that’s as practical as it is stunning.
In this guide, we break down standard heights, material pairings, clearance rules, and popular splashback ideas to help you design a cohesive, durable space.
Splashback vs upstand: what you actually need
While the terms are sometimes used interchangeably, a kitchen worktop upstand and a splashback serve distinct aesthetic and protective functions.
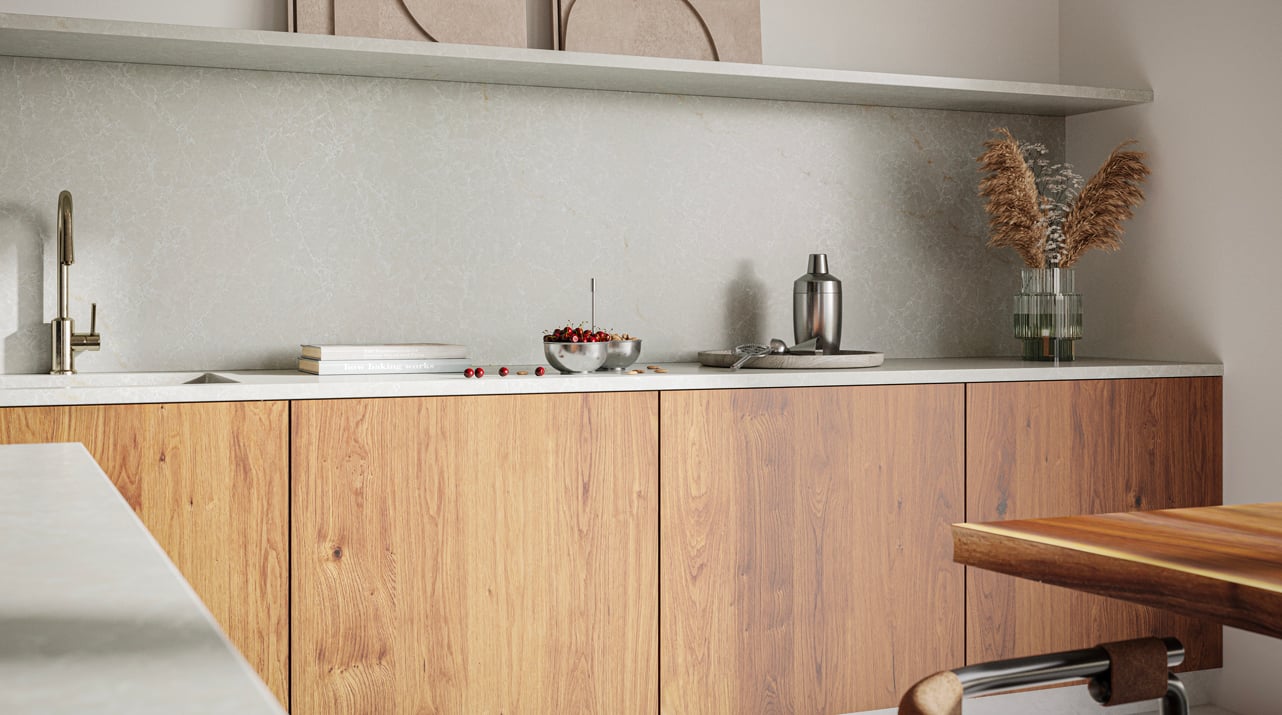
An upstand is a short border, usually 100mm high, that runs along the back edge of your worktop where it meets the wall. It creates a clean junction, masks slight imperfections or uneven walls, and prevents moisture or debris from slipping behind the cabinetry.
On the other hand, a full splashback covers a much larger part of the wall, typically stretching from the worktop all the way up to wall cabinets, open shelving or the base of an extractor hood.
In summary, the key benefits of each are:
- Upstand: Minimalist, cost-effective, and ideal for low-risk zones along perimeter walls.
- Splashback: Necessary for high-spatter areas, particularly behind the hob and sink, where grease, sauce, or water splashes are common.
Many homeowners choose to combine both: running an upstand behind the main worktop runs and introducing a full-height kitchen hob splashback for maximum protection where it matters most.
Standard upstand heights
The standard height for a kitchen worktop upstand is 100mm, though custom heights from 70mm to 150mm are common depending on the proportion of your cabinetry and wall space.
If you prefer a seamless transition, your fabricator can cut upstands from the same worktop material (such as porcelain or quartz) as your work surface.
Full height behind the hob
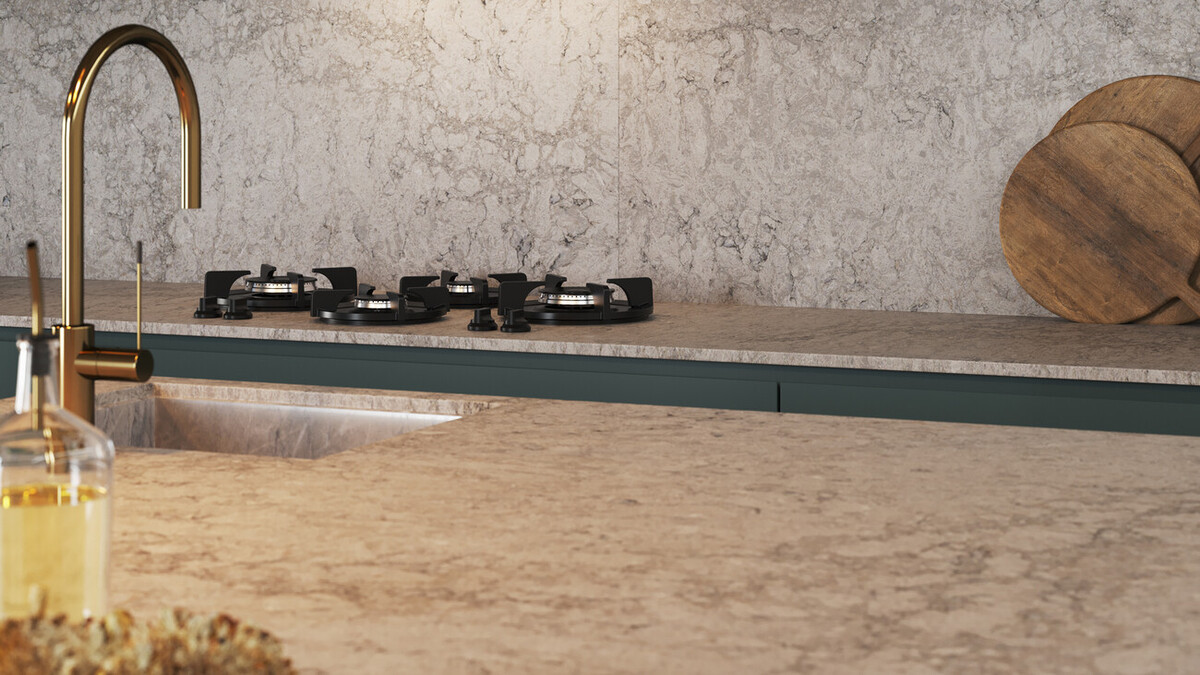
A kitchen hob splashback faces the heavy lifting of kitchen life: hot oils, boiling water and acidic sauces. A full-height panel behind the cooking zone shields your painted walls or plasterwork while creating a visually striking focal point.
Running your chosen material from the work surface up to the underside of the extractor hood or upper cabinets creates a smooth, easily wipeable finish with minimal grout lines or joints.
Hob clearances
Before finalising your splashback material or dimensions, safety and manufacturer guidelines must come first. Gas hobs require a minimum clearance (typically 50mm to 100mm, depending on manufacturer specifications) between the back burner flame and any combustible wall material or surface coating. Induction & electric hobs generally require less clearance, but heat resistance is just as important.
Quartz, porcelain, and other engineered stone like our ICON fusion surfaces perform exceptionally well behind induction hobs. Rather than guessing tolerances, Caesarstone provides extensive technical resources on hob safety and material clearances through our Master of Stone professional portal. This allows your kitchen designer or fabricator to make informed choices based on best practice and exact minimum distances required for each material.
Matching a splashback to a stone worktop
One of the most important design decisions you’ll make is whether your splashback should match your worktops or contrast with them, and both approaches offer their own design benefits.
Full slab continuation: the seamless look
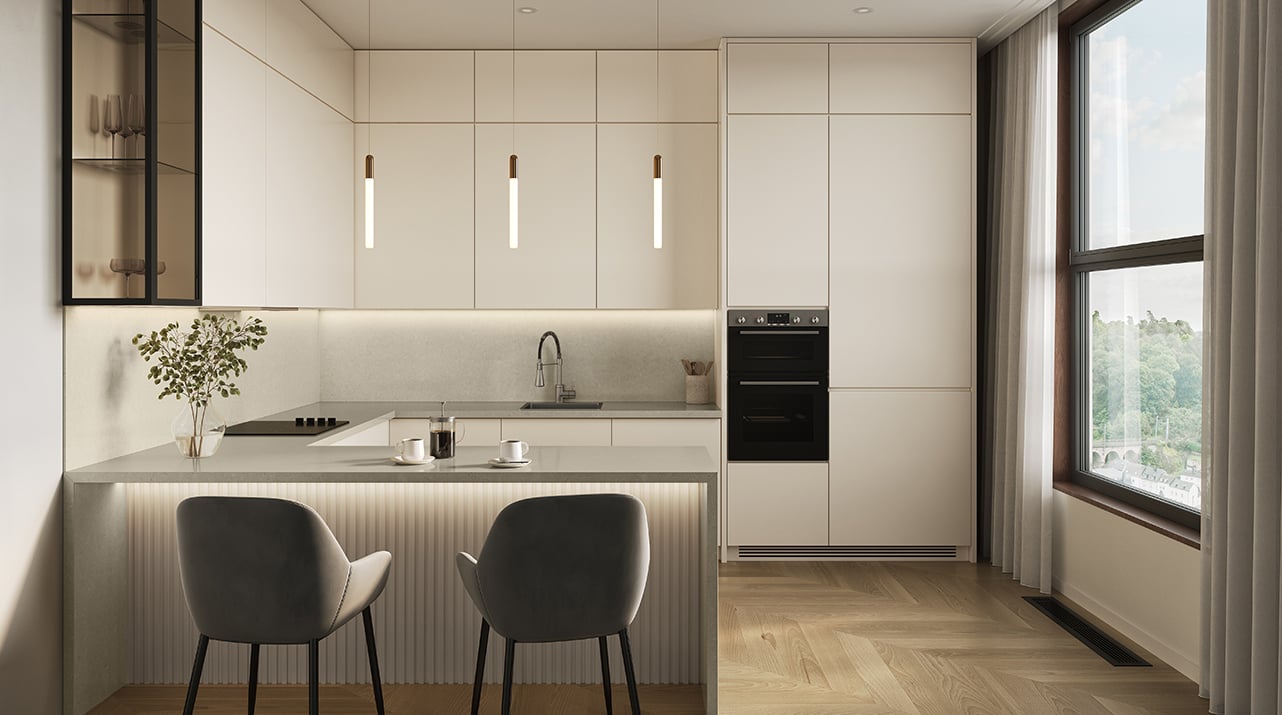
Continuing the same stone slab from the horizontal worktop directly up the vertical wall is a staple of contemporary luxury kitchen design.
This continuous look:
- Eliminates visual breaks, making small or narrow kitchens feel larger.
- Creates an uninterrupted field of colour and texture.
- Completely removes grout lines, making daily cleaning effortless.
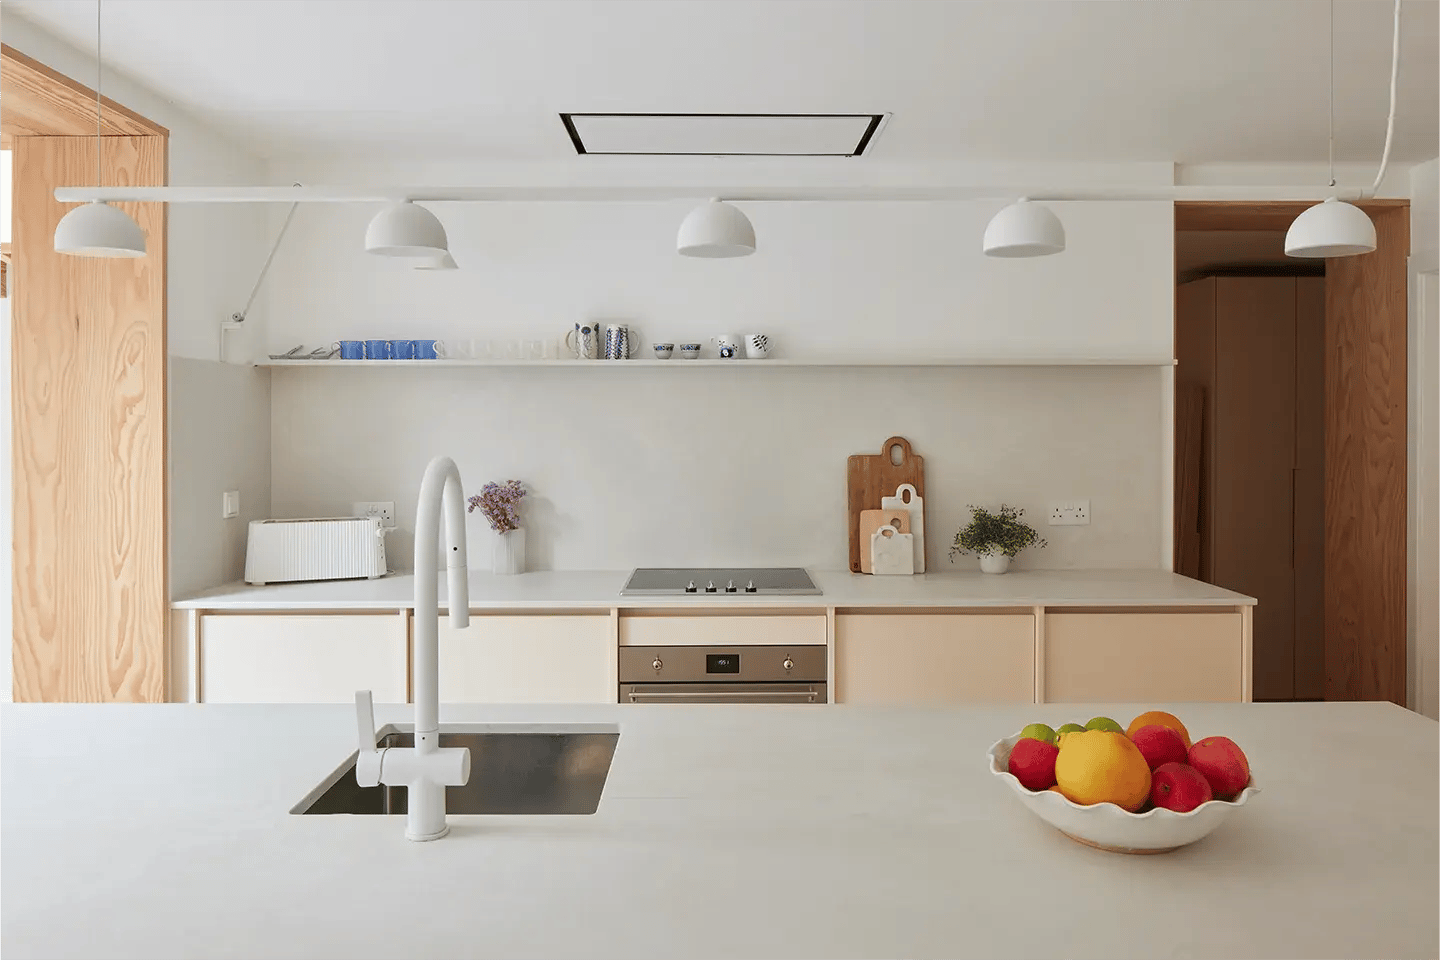 Case Study: Hoj House - A Scandinavian-inspired kitchen rooted in nature (Photography by Richard Chivers)
To explore worktop options that work seamlessly across both surfaces, you can browse our colour catalogue or order your samples to see how a Caesarstone worktop looks in the space.
Contrast splashback: when to break the run
Matching isn't mandatory, and introducing a contrasting material or texture can bring warmth, rhythm, and visual interest to a kitchen.
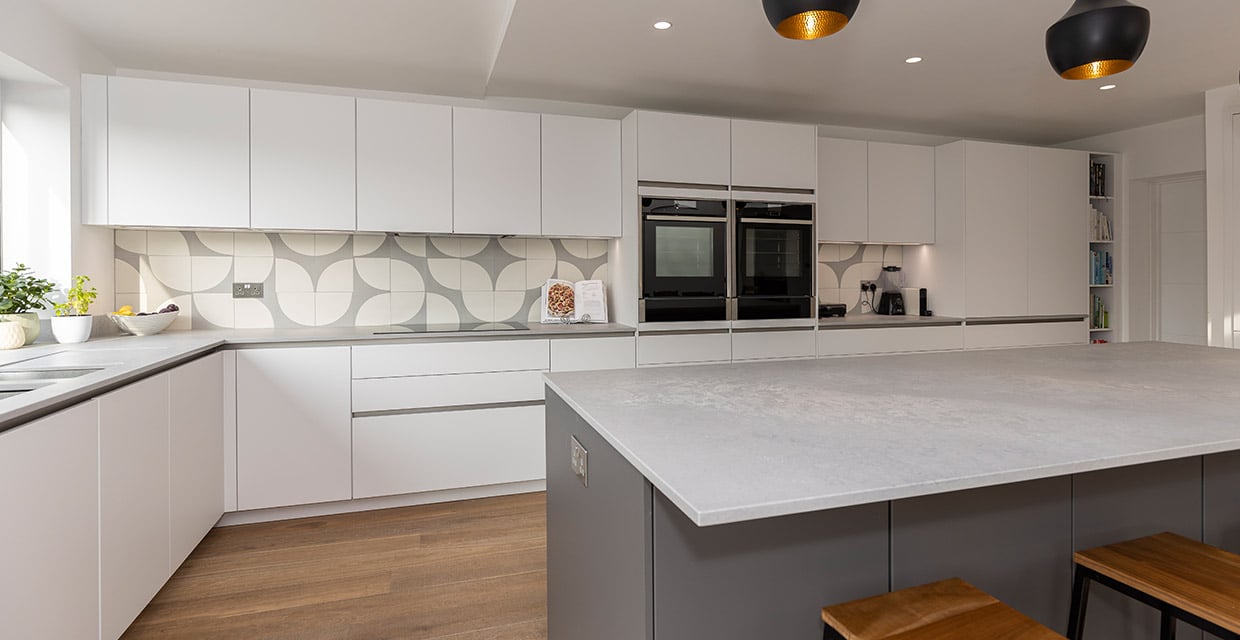 Case Study: Airy Concrete kitchen, St Albans
If you have a neutral or subtler stone worktop, a contrasting feature splashback, like patterned ceramic tiles, metallic panels, or fluted glass, draws the eye without overwhelming the room. Or, if your worktop features bold, dramatic veining, a simpler tile or neutral splashback lets the surface remain the hero. You may also wish to opt for contrasting stone tops for your splashback versus wall runs. Alternatively, if you want continuity between the splashback and wall runs, contrast can be introduced with different stone tops for kitchen islands to create a compelling visual anchor.
Splashback materials compared
Selecting the right material requires balancing visual appeal with heat resistance, stain resistance, and ease of maintenance.
|
Material |
Pros |
Cons |
Best Suited For |
|
Stone slabs (Quartz / Porcelain) |
Hygienic, seamless, non-porous, matching look, minimal maintenance
|
Requires professional fabrication and template fitting
|
Full-height runs, modern luxury kitchens, matching worktops
|
|
Tile (Ceramic / Porcelain) |
Wide variety of colours, shapes, and price points
|
Traditional grout lines require regular cleaning and sealing
|
Classic or country kitchens (ceramic tiles), or sleek, highly modern spaces depending on aesthetic desired (large format porcelain) |
|
Glass |
Reflects light, easy to wipe clean, available in back-painted shades
|
Can show fingerprints/smudges; toughened glass needed behind heat
|
Brightening dark spaces or minimalist contemporary kitchens
|
|
Metal (Stainless Steel / Brass / Copper) |
Industrial feel, highly heat resistant
|
Scratches easily; can show water spots and finger marks
|
Professional-style cooking zones or rustic vintage schemes
|
Stone slab
Using stone slabs (such as high-grade quartz, porcelain or ICON, our crystalline silica-free* fusion surfaces) provides an elegant, non-porous surface that resists stains, scratches, and liquid absorption. Because it matches or complements your worktop, it creates a unified aesthetic that instantly elevates the room.
Tile
Tiles remain a classic choice. From metro tiles to handmade Zellige (Moroccan) styles, searching for kitchen splashback tile ideas yields endless possibilities in herringbone, stacked, or vertical stacked layouts. Large format porcelain slabs (such as our 12mm porcelain slabs) serve as an excellent hybrid, delivering the variety of designs offered by ceramic surfaces but in expansive formats that offer minimal to zero grout lines. Depending on the style chosen, ceramic tiles suit traditional and country spaces, while large-format porcelain delivers a striking modern aesthetic.
Glass
Toughened glass splashbacks offer a clean, reflective quality that bounces light around the room. Available in plain colours or mirrored finishes (like antiqued mirror), glass is a practical choice for smaller or darker kitchens that need more light and an extra sense of depth. However, it is worth keeping in mind that even toughened glass will intrinsically be more fragile compared to stone alternatives.
Metal
A brushed stainless steel, aged brass, or copper panel adds an industrial or artisan touch behind a cooking zone. While metal needs specific cleaning products to keep smudges at bay, it offers exceptional heat tolerance directly behind gas burners.
Splashback ideas by kitchen colour
The overall colour palette of your kitchen cabinetry plays a major role in determining which splashback style will feel most cohesive. Here are some popular kitchen splashback ideas tailored by cabinet shade, featuring worktops from the Caesarstone collection:
White kitchens
A white kitchen splashback can either create a bright, tone-on-tone sanctuary or act as a high-contrast canvas. For a serene, tone-on-tone look, pair crisp white cabinetry with a soft marble-effect like 5151 Empira White, whose delicate grey veining adds subtle movement without interrupting the space. If you prefer texture and contrast, opt for a solid, bright surface like 1141 Pure White paired with glossy herringbone tiles or an aged mirror splashback to add warmth and depth.
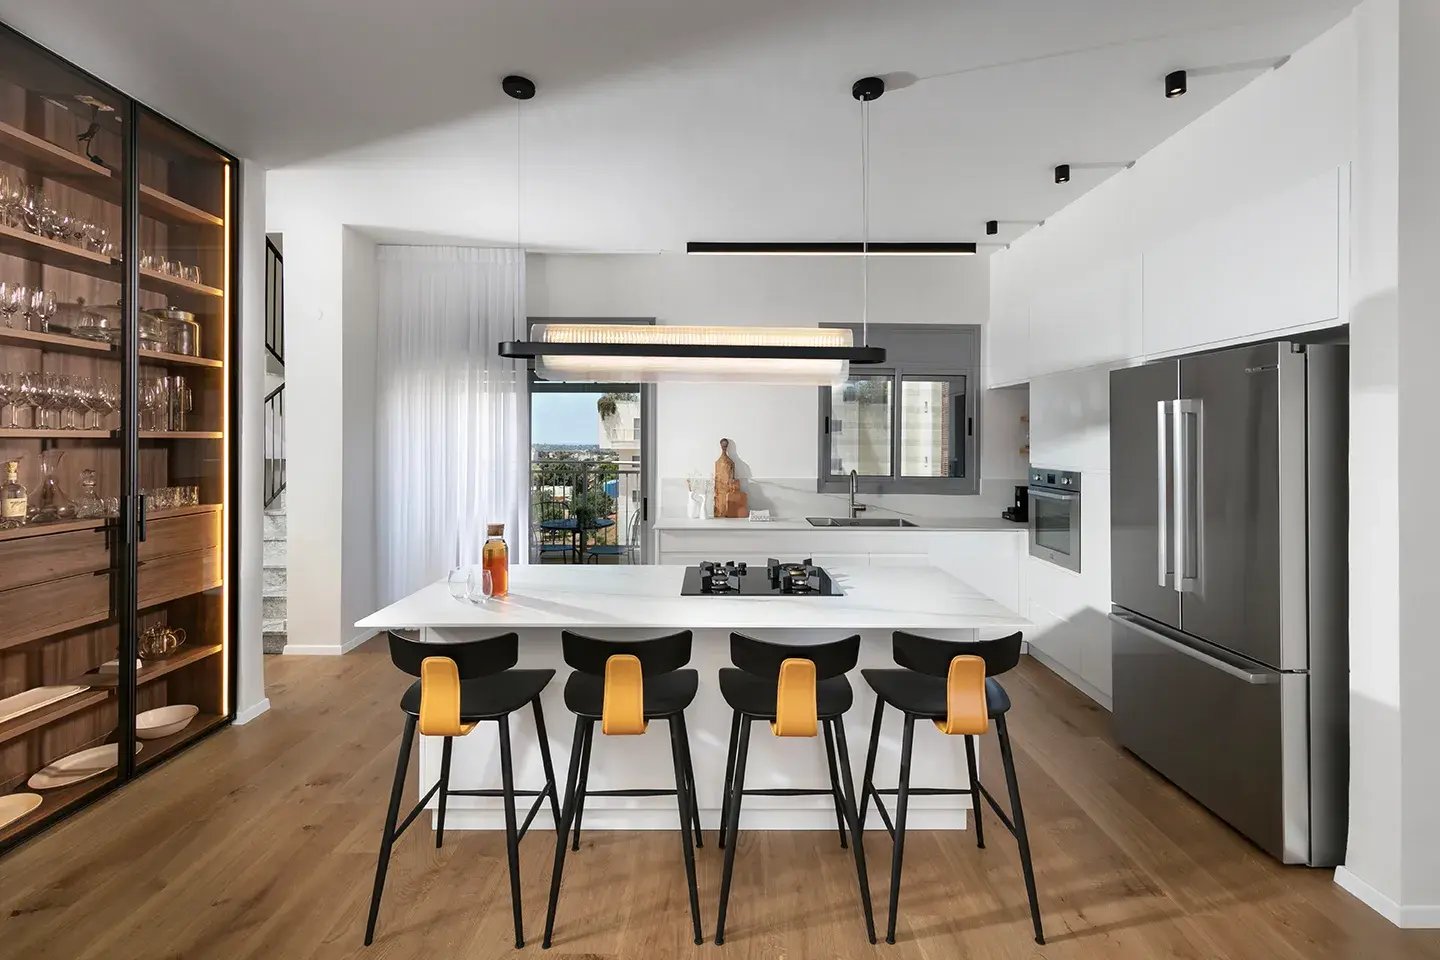 Case Study: Caesarstone shines in a sleek, light-filled family kitchen (Photography by Elad Gonen)
In a recent London duplex project by Studio Bazelet, designers paired bright white units with 502 Sleet Porcelain, a surface featuring a creamy off-white base and gentle brown streaks, demonstrating how a warm porcelain splashback can elevate a family kitchen.
Black and dark kitchens
A black splashback kitchen scheme exudes drama and sophistication, and there are two main ways to design the space: all black or contrasting.
 Case Study: Monochrome mastery: A look into a bold all-black family kitchen (Photography by Kate Davis)
For a monochrome, moody statement, match dark navy or graphite units with a striking dark stone surface like 5100 Vanilla Noir or the mineral-layered 5810 Black Tempal. For example, Vanilla Noir was chosen as the centrepiece in this monochromatic open-plan kitchen by Kate Feather. With its rich jet-black base and creamy, off-white veining, the surface delivers a high-impact visual statement across the worktops, island and splashbacks.
 Case Study: A clean and contemporary urban kitchen by The Main Company
If you want to bring contrast to the space, bring light back down to the preparation area by offsetting dark cabinetry with a bright, marble-inspired splashback like 5031 Statuario Maximus. A brilliant example of this is in the contemporary London kitchen renovation by The Main Company. The owners opted for Caesarstone’s 5131 Calacatta Nuvo to offset the dark cabinetry painted in the captivating shade “Lamp Black 228” from Little Greene. The marble-inspired countertop creates a visually captivating balance that plays with light and shadow – helping to make the space feel bigger.
Green and sage kitchens
Sage, olive, and forest green kitchens are very popular in modern interior trends right now. To create an earthy, organic aesthetic, pair sage green cabinetry with warm off-white stone surfaces like 5113 Solenna or the concrete-textured 4023 Topus Concrete, which carries soft blush-beige undertones. The organic veining found in stone worktops and splashbacks naturally accentuates the grounding, nature-inspired qualities of green units.
Cream and warm neutrals
Warm beige, cashmere, and cream kitchens call for soft, welcoming finishes. Layered neutrals work exceptionally well when warm units are paired with silky, mineral-toned stone such as 5212 Taj Royale or the greige tones of 6046 Moorland Fog.
 Case Study: A calm, timeless kitchen in a heritage home (Photography by Martin Holliday)
In a heritage home redesign by Chiselwood, 4043 Primordia was selected to bring texture, light grey bases, and soft mineral accents to a neutral, traditional layout. For a subtle tactile contrast, consider pairing these warm stone worktops with soft white or beige Moroccan-style tiles that reflect light gently across the wall.
Behind the sink and under the window
While the hob gets most of the attention, the area around the wet zone also requires careful thought. A kitchen sink splashback protects surrounding paintwork and timber from water splashes, soap residue and condensation.
Key considerations for windowsills and wet areas:
- Extended upstands: If your sink sits right in front of a window, consider extending your worktop upstand right into the window recess, turning the windowsill itself into stone. This creates a completely waterproof, seamless shelf that’s easy to wipe clean.
- Height adjustments: Where wall space beneath a windowsill is limited, a custom-cut stone upstand can be tailored to fit the exact gap between the worktop and window frame.
Cost and fabrication: what to ask
Integrating full-height stone or custom splashbacks requires accurate templating and installation. For a smooth process with your kitchen planner or stone fabricator, think about these questions:
- How is the splashback measured? Full slab splashbacks should always be templated after base cabinets and worktops are installed; this is to ensure exact cuts around sockets and extractor fittings.
- Where will electrical sockets be placed? Precise cutout locations for power sockets must be marked before the stone is cut.
- What is the lead time and overall cost difference? Depending on your exact kitchen configuration, a full-height splashback may be possible without any need for additional raw materials. For instance, if you have a single wall run under 3.2m, a 600mm splashback can often be cut from the same jumbo slab with a single horizontal join. Your kitchen designer or fabricator can offer tailored advice on the most efficient layouts for your slab requirements.
- Is additional support needed? Heavy stone panels attached to stud walls may require reinforced backing boards before installation.
To take the hassle out of finding qualified experts, you can get a quote from a recommended fabricator near you, ensuring precision templating and fitting for your project. For detailed technical guidelines on tolerances, cutouts, and wall preparation, refer to our comprehensive design and specification resource.
Ready to plan your kitchen splashback?
Whether you choose a full-height stone slab, a classic tiled arrangement, or a neat upstand, seeing materials in your own home lighting is the best way to decide.
You can order samples today to compare our worktop finishes against your chosen cabinetry and paint swatches.
*May contain traces of less than 1% crystalline silica